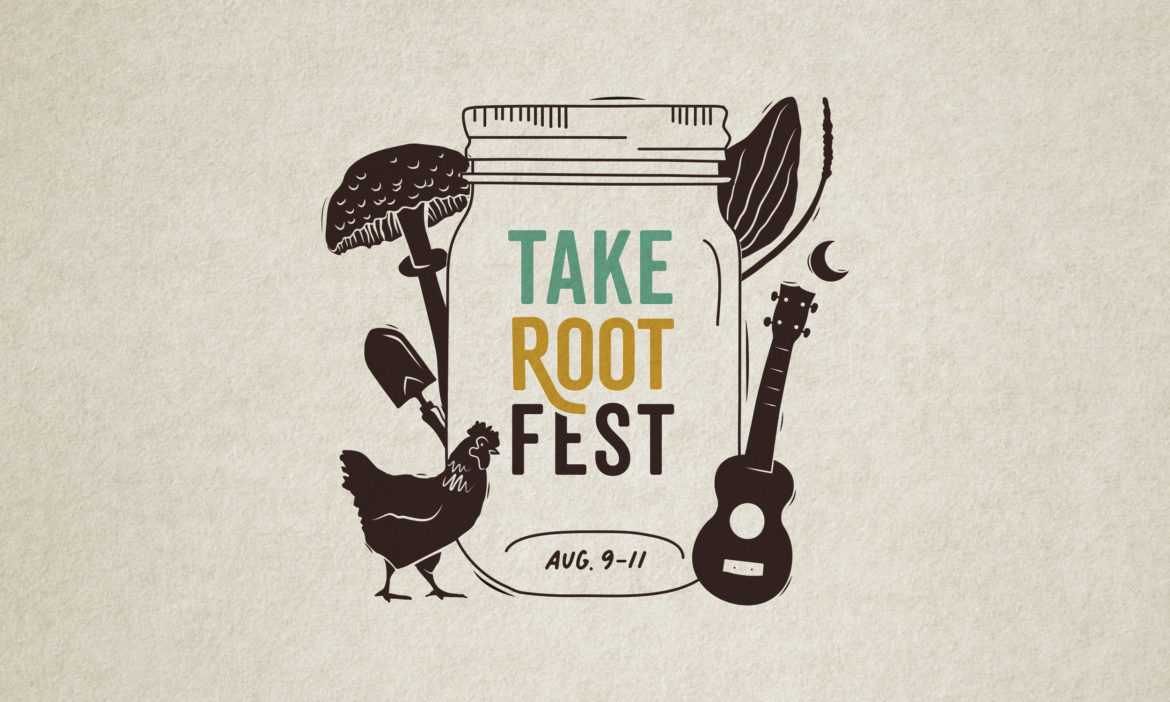
These days when the promise of more light is rising, yet the mercury remains fallen, are a lovely time to dig out those seeds from their winter resting places and sprout some little bits of light and hope of our own! Testing your seeds is a fun way to scratch that gardening itch when it’s not yet time to fully dig into seed starting.
This is a really fun experiment for kids to help with (or take lead on)!
Depending on how many seeds you have it will take an hour or so to start. When we did a germination test for the first time many moons ago, our favourite part was the vibrant red in the beet sprouts, second only to the cucumber scent that washed over us as we checked on the cuke seeds – a little burst of summer.
Chart:
We created a printable chart that you can make use of – just hop over to our General Store and download your free copy.
Materials:
// seeds
//sharpie
//old plastic bags or glass tupperware containers
// blotting paper, paper towels (preferably unbleached), or cloth scraps
// tray
// water
// printed chart/scrap paper & pencil OR computer doc
Here’s how it works:
1. Set yourself up with all of the materials. We used regular paper towels, but have heard that the commercial brown paper towels that are often in public washrooms are better as they don’t soak up as much of the water. That said, use what you have! You could probably even use a cloth napkin : )
2. Fold a paper towel in half and dip it in the water, just leaving it long enough to get a couple blotches, as the water will soak into the rest of the towel in a few seconds.
3. Place ten seeds of one variety (or five if you don’t have many left) along the paper towel.
4. Fold the paper towel over, and then again, place it in the bag or container (leave the bag or container open a bit so that the seeds get air), and label with the seed name.
5. Repeat steps 1 to 4 for each seed. If you want to save bags/containers, you can label a popsicle stick or other garden label and place it in the paper towel, allowing you to place multiple seed sets in each bag or container.
6. Set the finished test seeds in a warm, dark location for three to five days (unless the type of seed you are testing prefers cool germination conditions). Check the ends of the paper towel now and then and if they are dry, spritz your rolls. Don’t let the whole roll dry out! Moist is good; dry or soaking wet are not.
7. After three days, open up the paper towels and record your results. If you’d prefer to go a full five days, that is fine, too. To add some math fun to our project, we recorded the number of seeds that had germinated out of ten, and then translated that into percentages. You can decide which percentage of viability is worthwhile for you to proceed with planting the packet of seeds.
8. If you have a number of seeds that don’t germinate, you can put them back for another few days and check them again to see if they just needed a bit more time, of if they have called it quits. If there are one or more moldy seeds, remove them, and put the remaining seeds on a new dampened paper towel. That might be a sign that your testing grounds are too damp!